Painting Tips to Avoid Roller Marks
October 3, 2022
The Impact Of Light On Paint Color: How To Choose The Right Shade
January 31, 202315 Causes for Bubbling Paint (How To Fix Them?)
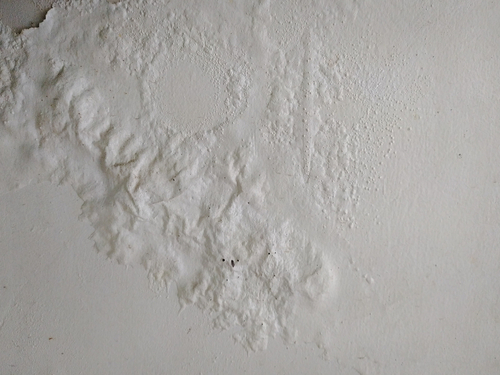
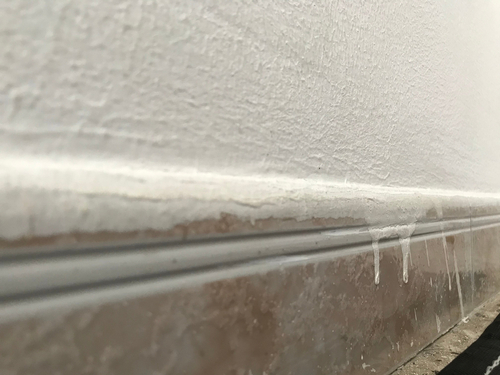
15 causes for bubbling paint and how to fix them? Paint bubbling can be scary for anyone who’s just painted their walls or furniture. Paint bubbling occurs when air pockets form underneath the paint, resulting in an uneven texture and an unattractive appearance.
Fortunately, there are some simple ways to address this issue and get your painting project back on track. In this article, we’ll discuss: 15 Causes for Bubbling Paint (How To Fix Them?)
Causes of Bubbling Paint:
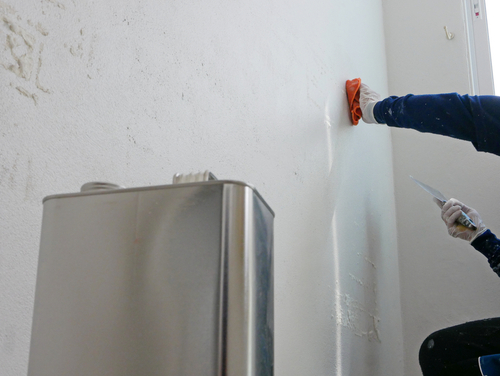
1. Poor Surface Prep:
Before painting, it’s always important to properly prep the surface to make sure that the paint adheres correctly. If you don’t prepare the painting surface correctly, any existing imperfections or dirt may cause air pockets which will lead to bubbling.
To avoid this issue, be sure to clean off the surface and fill in any cracks or holes before applying the paint.
2. Too Much Paint:
If you apply too thick of a coat of paint, air pockets can form during the drying process, resulting in bubbling.
To avoid this issue, make sure to use an even coat and follow the instructions on the paint can for how many coats are necessary. When applying a second coat, make sure to wait until the first is completely dry.
3. Improper Mixing:
When mixing multiple colors, it’s important to blend them correctly to ensure a smooth result. If you don’t mix them properly, air bubbles will form when the paint is applied and cause bubbling later on. Be sure to thoroughly mix any colors before using them. Most paint cans will include instructions on how to properly mix the paint.
4. Poor Quality Paint:
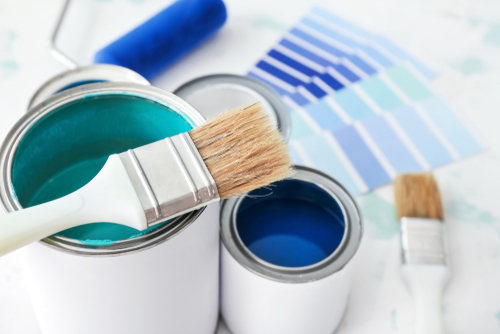
Cheap paint won’t adhere correctly to the surface and is prone to bubbling. Be sure to invest in quality paints that are specifically designed for the project you’re working on. For example, there are different types of interior and exterior paints, so make sure you’re using the right one for the job.
5. Incorrect Temperature:
If the temperature is too cold or hot when you’re applying the paint, it can cause bubbling and other issues with adhesion. Make sure to check the weather conditions before starting your project and try to avoid painting in extremely hot or cold temperatures.
6. Humidity:
Humidity can also cause paint bubbling. If the relative humidity is too high, the paint won’t be able to dry and air pockets will form underneath it, resulting in bubbling. Keep relative humidity levels below 50% when painting for best results.
High levels of humidity can cause the paint to dry too quickly, resulting in bubbling and an uneven texture. To avoid this issue, make sure to only paint when the humidity level is low and allow adequate time between coats for drying.
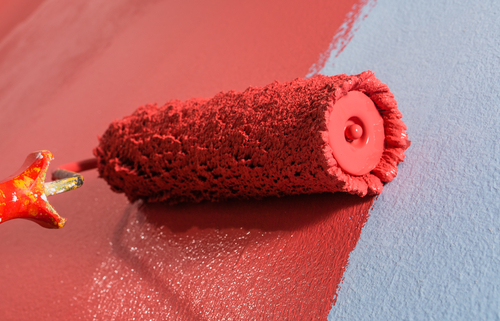
7. Poor Quality Brushes or Rollers:
Using a low-quality brush or roller can cause the paint to be unevenly distributed, resulting in bubbles. Make sure you’re using top-of-the-line brushes and rollers, as well as any other painting tools that are recommended by the manufacturer.
8. Latex Paint Over Oil-Based Paint:
If you’re trying to apply latex paint over oil-based paint, it’s important to make sure that the surface is properly prepared.
If not, the paint may not adhere correctly and will start to bubble as it dries. When painting over oil-based paint, be sure to use a primer or sealer and sand the surface before applying the latex paint.
9. Too Much Pressure:
If you apply too much pressure when painting, air pockets can be forced into the paint which will cause bubbling later on. Make sure to use light strokes and follow the instructions on the can for how many coats are necessary. If you apply too many coats, the paint may start to bubble as it dries.
10. Poor Quality Primer:
Using a poor-quality primer or not using a primer at all can lead to bubbling issues in your paint job. Be sure to invest in good-quality primers that are specifically designed for your project to ensure a smooth finish with no bubbling.
11. Improper Cleanup and Storage:
After you’ve finished painting, make sure to store leftover paint correctly. If the can is exposed to extreme temperatures or isn’t sealed tightly, it can cause air bubbles to form in the paint which will lead to bubbling. Be sure to clean up any spills immediately and store leftover paint in a cool, dry place.
12. Poor Ventilation:
If you’re painting indoors, it’s important to make sure that the area is properly ventilated. Poor ventilation can cause air bubbles to form in the paint which will result in bubbling. Make sure to open windows and fans to ensure proper air circulation while painting.
13. Old Paint:
If you’re using paint that has been sitting around for a while, it may have picked up moisture or other contaminants that can cause bubbling. Make sure to check the expiration date on the paint and discard any old cans before starting your project.
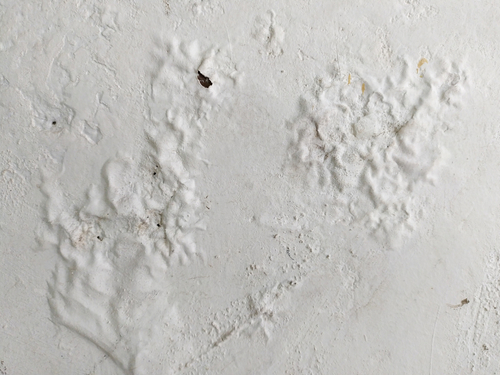
14. Not Removing Dust and Debris:
Before you start painting, it’s important to make sure that the surface is clean and free of dust and debris. If these contaminants are not removed before applying paint, they can cause bubbles to form in the paint which will lead to bubbling later on.
15. Applying Too Much Paint:
If you apply too much paint in one area, it can cause the paint to dry unevenly and create air bubbles which will lead to bubbling. Make sure to spread the paint evenly over the surface and use light strokes to avoid this issue.
15 Causes for Bubbling Paint (How To Fix Them?) – Conclusion
Fixing bubbling paint on walls can be tricky and time-consuming, so it’s always best to prevent them from occurring in the first place. By following the tips mentioned above, you’ll be able to properly address and fix any bubbling paint problems you may have.
Remember that proper surface prep, quality paints, and tools, as well as the right temperature and humidity levels, are all essential for achieving an even and attractive finish with no bubbles. With a little patience and attention to detail, your painting project will turn out perfect every time!